
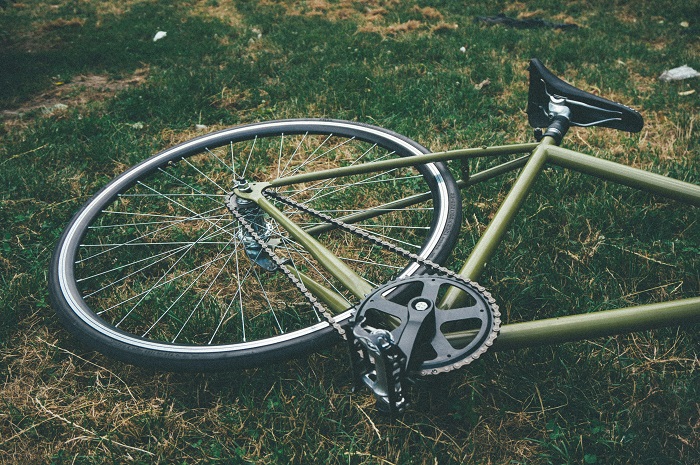
You were drawing a cartoon bicycle in just seven easy steps! When it comes to exercising or just spending a nice day outside, there are only places your feet can take you. That is unless you have a bike because this vehicle opens up many possibilities! Bicycles can be used for sports, exercise, or leisurely riding and can be found in wide varieties. Cool things to draw
Also, learning how to draw a cartoon bicycle can be difficult, but that’s what this guide is for! By the end of the steps in this tutorial, you’ll know exactly how it can be done while having a lot of fun. This step-by-step guide on how to draw a cartoon bicycle in just seven easy steps is here to show you how you can design your bicycle!
How To Draw A Cartoon Bicycle – Allows Reach Initiated!
Step 1
To start this guide on drawing a cartoon bicycle, we will begin with the beginning of the frame and the pedals. The frame has a triangular shape and is composed of two parts connected. On the lower right side, you will find the bicycle pedal. This will have a circular outline from which the pedal comes out at an angle. As you draw the frame and other aspects of the bike, you can use a ruler to help you with some of the straight lines.
Step 2: Remove some more additional of the frame.
This step will involve adding the next part of the cartoon bike drawing frame. First, we’ll add another triangular piece to the right side of the bike. This will also have a small circle on the far right end. Next, we’ll draw the first part of the fork that goes over the wheel that attaches to the left side of the frame you drew in the previous step.
Step 3 – Following, begin removing the swirls.
Now you’re ready to start adding the wheels to this bike because it wouldn’t be very far without it! The wheels will be perfect circles. And they will go into the parts of the frame that we show in the reference image. You can use a drawing tool like a compass when drawing these circles. We will be adding more details on these wheels soon! Finish this step by adding some small dots to the circular surface of the pedal.
Step 4 – Now remove some internal components for the spins.
In this step, we will add some interior details to the wheels of your cartoon bicycle drawing. To start with this, we’ll first draw two smaller circles inside the outline of the wheel you just drew. The second one will go very close to the design of the first one, which we show in our reference image.
Step 5: Remove the handlebars of your cartoon bike.
This step of our guide on drawing a cartoon bicycle will be one of the more complex steps in this direction. In this one, we will start removing the handlebars of the bike, and for this part, there are quite a few tricky details to draw. It will go on the frame and have some thin, straight features for its structure. You can then add the levers and brakes attached to this frame. We recommend following the reference image carefully while taking time with this one! Then, we’ll add the final details in the next step.
Step 6: Currently, count the last details.
To complete this drawing before we color it in the final step, we’ll need to add a few more details:
- We will add the bike seat. This will be a flat, rounded shape thicker on the right than on the left. It will be connected to a thin component of the structure.
- We’ll draw thin wires from the handle and above the wheels.
- Draw the rounded parts of the brakes on top of the wheels to lock in the details for this step.
Before proceeding further, you can customize this bike by adding additional details and ideas to the cycle. You can also draw a fun background to show where you would ride this bike. What else can you imagine about this picture?